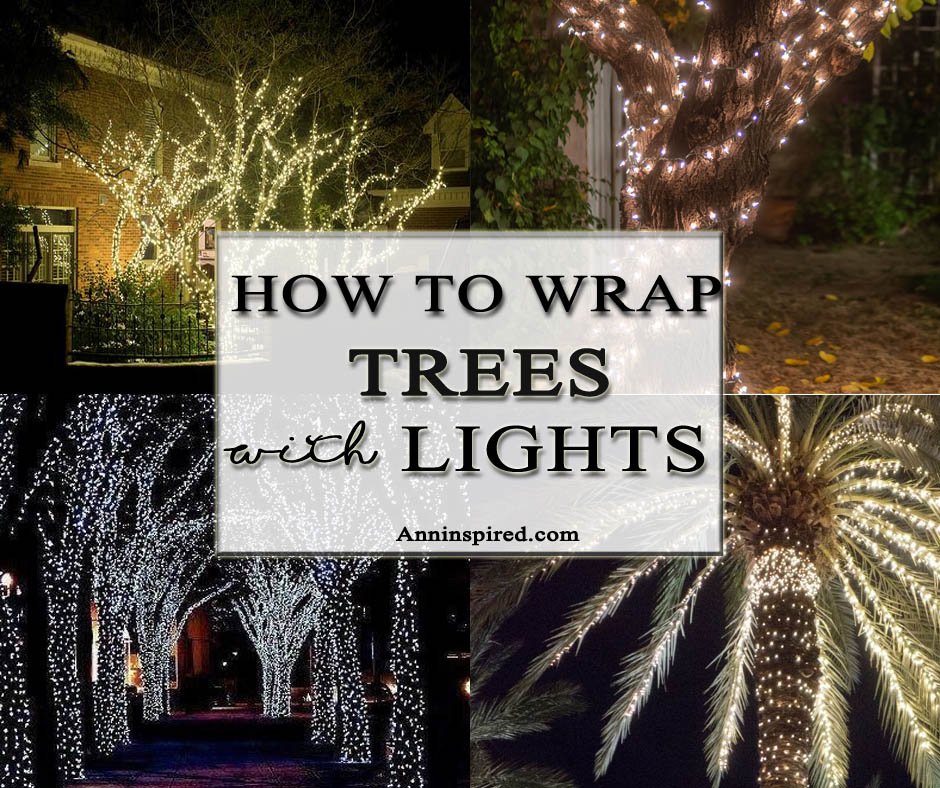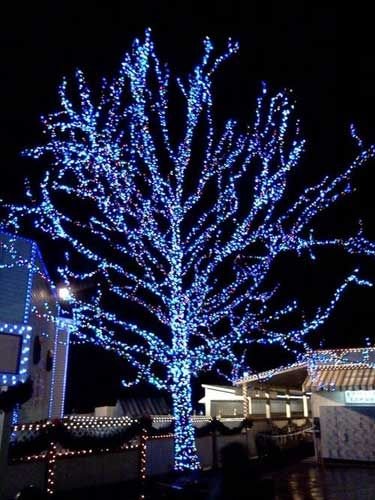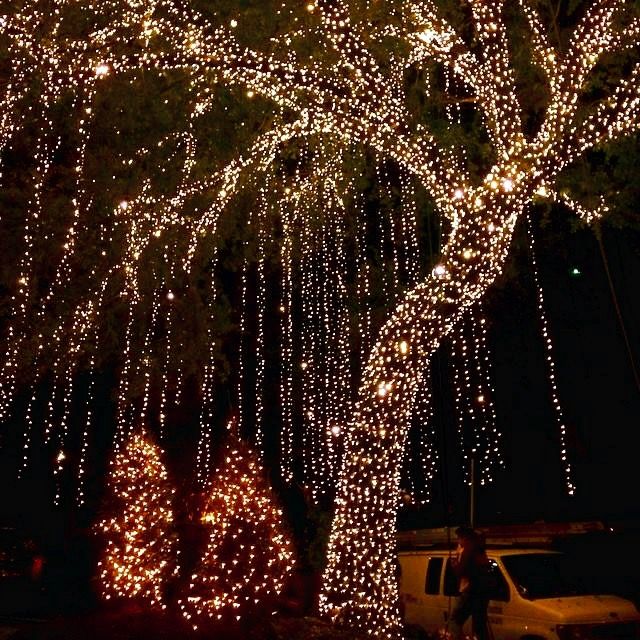
When you want to create an inviting festive atmosphere in your backyard, the idea to wrap trees with lights seems perfect. This is a great solution for holidays and just for fun. Creating a comfortable outdoor space for your dinners and meetings with friends and family works well both for Christmas time and warm seasons of the year.
You can decorate any type of tree with lights. Deciduous trees, palms, evergreens, or yucca will suit perfectly for this purpose.

Leafless species, such as palms, will look great when the lights are wrapped vertically around the trunk. The horizontal-spreading lights also look fascinating.
Choose the Best Lights
Among many types of outdoor lights that you can find on the market these days, LED lights are the best ones.

They are more energy-efficient and durable than common incandescent bulbs. LED lights, however, can cost a bit more but their reliability counts for them and they will pay for themselves over time.
To choose the perfect colors, consider what you would like to achieve. If you want wrapping trees with lights for a nice glow, choose warm white LEDs. If you opt for cool whites, that will provide the bluish glow, and you will be rewarded with a more festive look. You may also opt for colored lights to decorate your trees for holidays.
Easy Steps to Wrap a Tree with Lights
Step 1. Select the tree / trees for lighting. It can have an interesting shape or elegant branches to create the magic with twinkling lights. Don’t choose very big trees. You will need more lights and wrapping suc a tree may be rather challenging.
Step 2. Check the strands of lights. Plug each strand in and make sure that they are in a good working order. You can also connect several strings by plugging them together.
Step 3. Use the extension cord. Check whether it is meant for outdoor use. You will need the GFCI protection on it to prevent shock hazards caused by the moisture. Lay out the cord to the tree trunk and wrap it around its base to secure it. Check which part of the trunk is visible from the outside and from your house.
Step 4. Enfold the trunk with the lights. Move upwards from the base of the trunk. Try to make even spacing for a better look. It should be about four fingers wide.

Step 5. Cover the big branches as well. You may need some extra string for it. When you enfold one limb moving to its end, go in the reverse direction to continue with the other one. The space between the strings can be eight fingers or two hands put together.
Step 6. A ladder may be needed for higher branches. Do not try to climb a tree. Use a freestanding ladder instead or an extension ladder. Mind the safety – if you need to climb high, have a helper beside you to hold the ladder’s base.
Step 7. Secure the ends of the string. Your installation can be completed when you secure all the ends. You can just tuck the end into some curves of branches or use the planting tape. Never use the metal wire to wrap trees with lights because it can cause an electric shock.
A Few Tips on Wrapping Trees
Now, you know how to complete this simple DIY project.

Here are some tips and pieces of advice to make the whole procedure still easier:
- Decide beforehand how many trees you would like to wraping and how many strands and lights you would like to have on them.
- Never use one or two strands – they are not enough. The trunk wrapped just part-way up does not look festive at all.
- You will need up to 20-30 lights for one trunk depending on its circumference.
- Mind the budget. You can start with the minimum lights for one or several trees and add some strands every year.
So, here is the complete short guide on how to wrap trees with lights. I think it will be useful when you are doing this DIY project for the first time.
